All Models
Full support for GPT-4o, o1, GPT-4, GPT-3.5, and all OpenAI models
All Endpoints
Chat, completions, embeddings, audio, images, and more fully supported
Multi-SDK Support
Use with OpenAI SDK, Portkey SDK, or popular frameworks like LangChain
Quick Start
Get OpenAI working in 3 steps:Tip: You can also set
provider="@openai" in Portkey() and use just model="gpt-4o" in the request.Legacy support: The virtual_key parameter still works for backwards compatibility.Add Provider in Model Catalog
- Go to Model Catalog → Add Provider
- Select OpenAI
- Choose existing credentials or create new by entering your OpenAI API key
- (Optional) Add your OpenAI Organization ID and Project ID for better cost tracking
- Name your provider (e.g.,
openai-prod)
Complete Setup Guide →
See all setup options, code examples, and detailed instructions
Basic Usage
Streaming
Stream responses for real-time output in your applications:Advanced Features
Responses API
OpenAI’s Responses API combines the best of both Chat Completions and Assistants APIs. Portkey fully supports this API with both the Portkey SDK and OpenAI SDK.The Responses API provides a more flexible foundation for building agentic applications with built-in tools that execute automatically.
Remote MCP support on Responses API
Portkey supports Remote MCP support by OpenAI on its Responses API. Learn More
Streaming with Responses API
Realtime API
Portkey supports OpenAI’s Realtime API with a seamless integration. This allows you to use Portkey’s logging, cost tracking, and guardrail features while using the Realtime API.Realtime API
Using Vision Models
Portkey’s multimodal Gateway fully supports OpenAI vision models as well. See this guide for more info:Vision with the Responses API
The Responses API also processes images alongside text:Function Calling
Function calls within your OpenAI or Portkey SDK operations remain standard. These logs will appear in Portkey, highlighting the utilized functions and their outputs. Additionally, you can define functions within your prompts and invoke theportkey.prompts.completions.create method as above.
Function Calling with the Responses API
The Responses API also supports function calling with the same powerful capabilities:Fine-Tuning
Please refer to our fine-tuning guides to take advantage of Portkey’s advanced continuous fine-tuning capabilities.Image Generation
Portkey supports multiple modalities for OpenAI. Make image generation requests through Portkey’s AI Gateway the same way as making completion calls.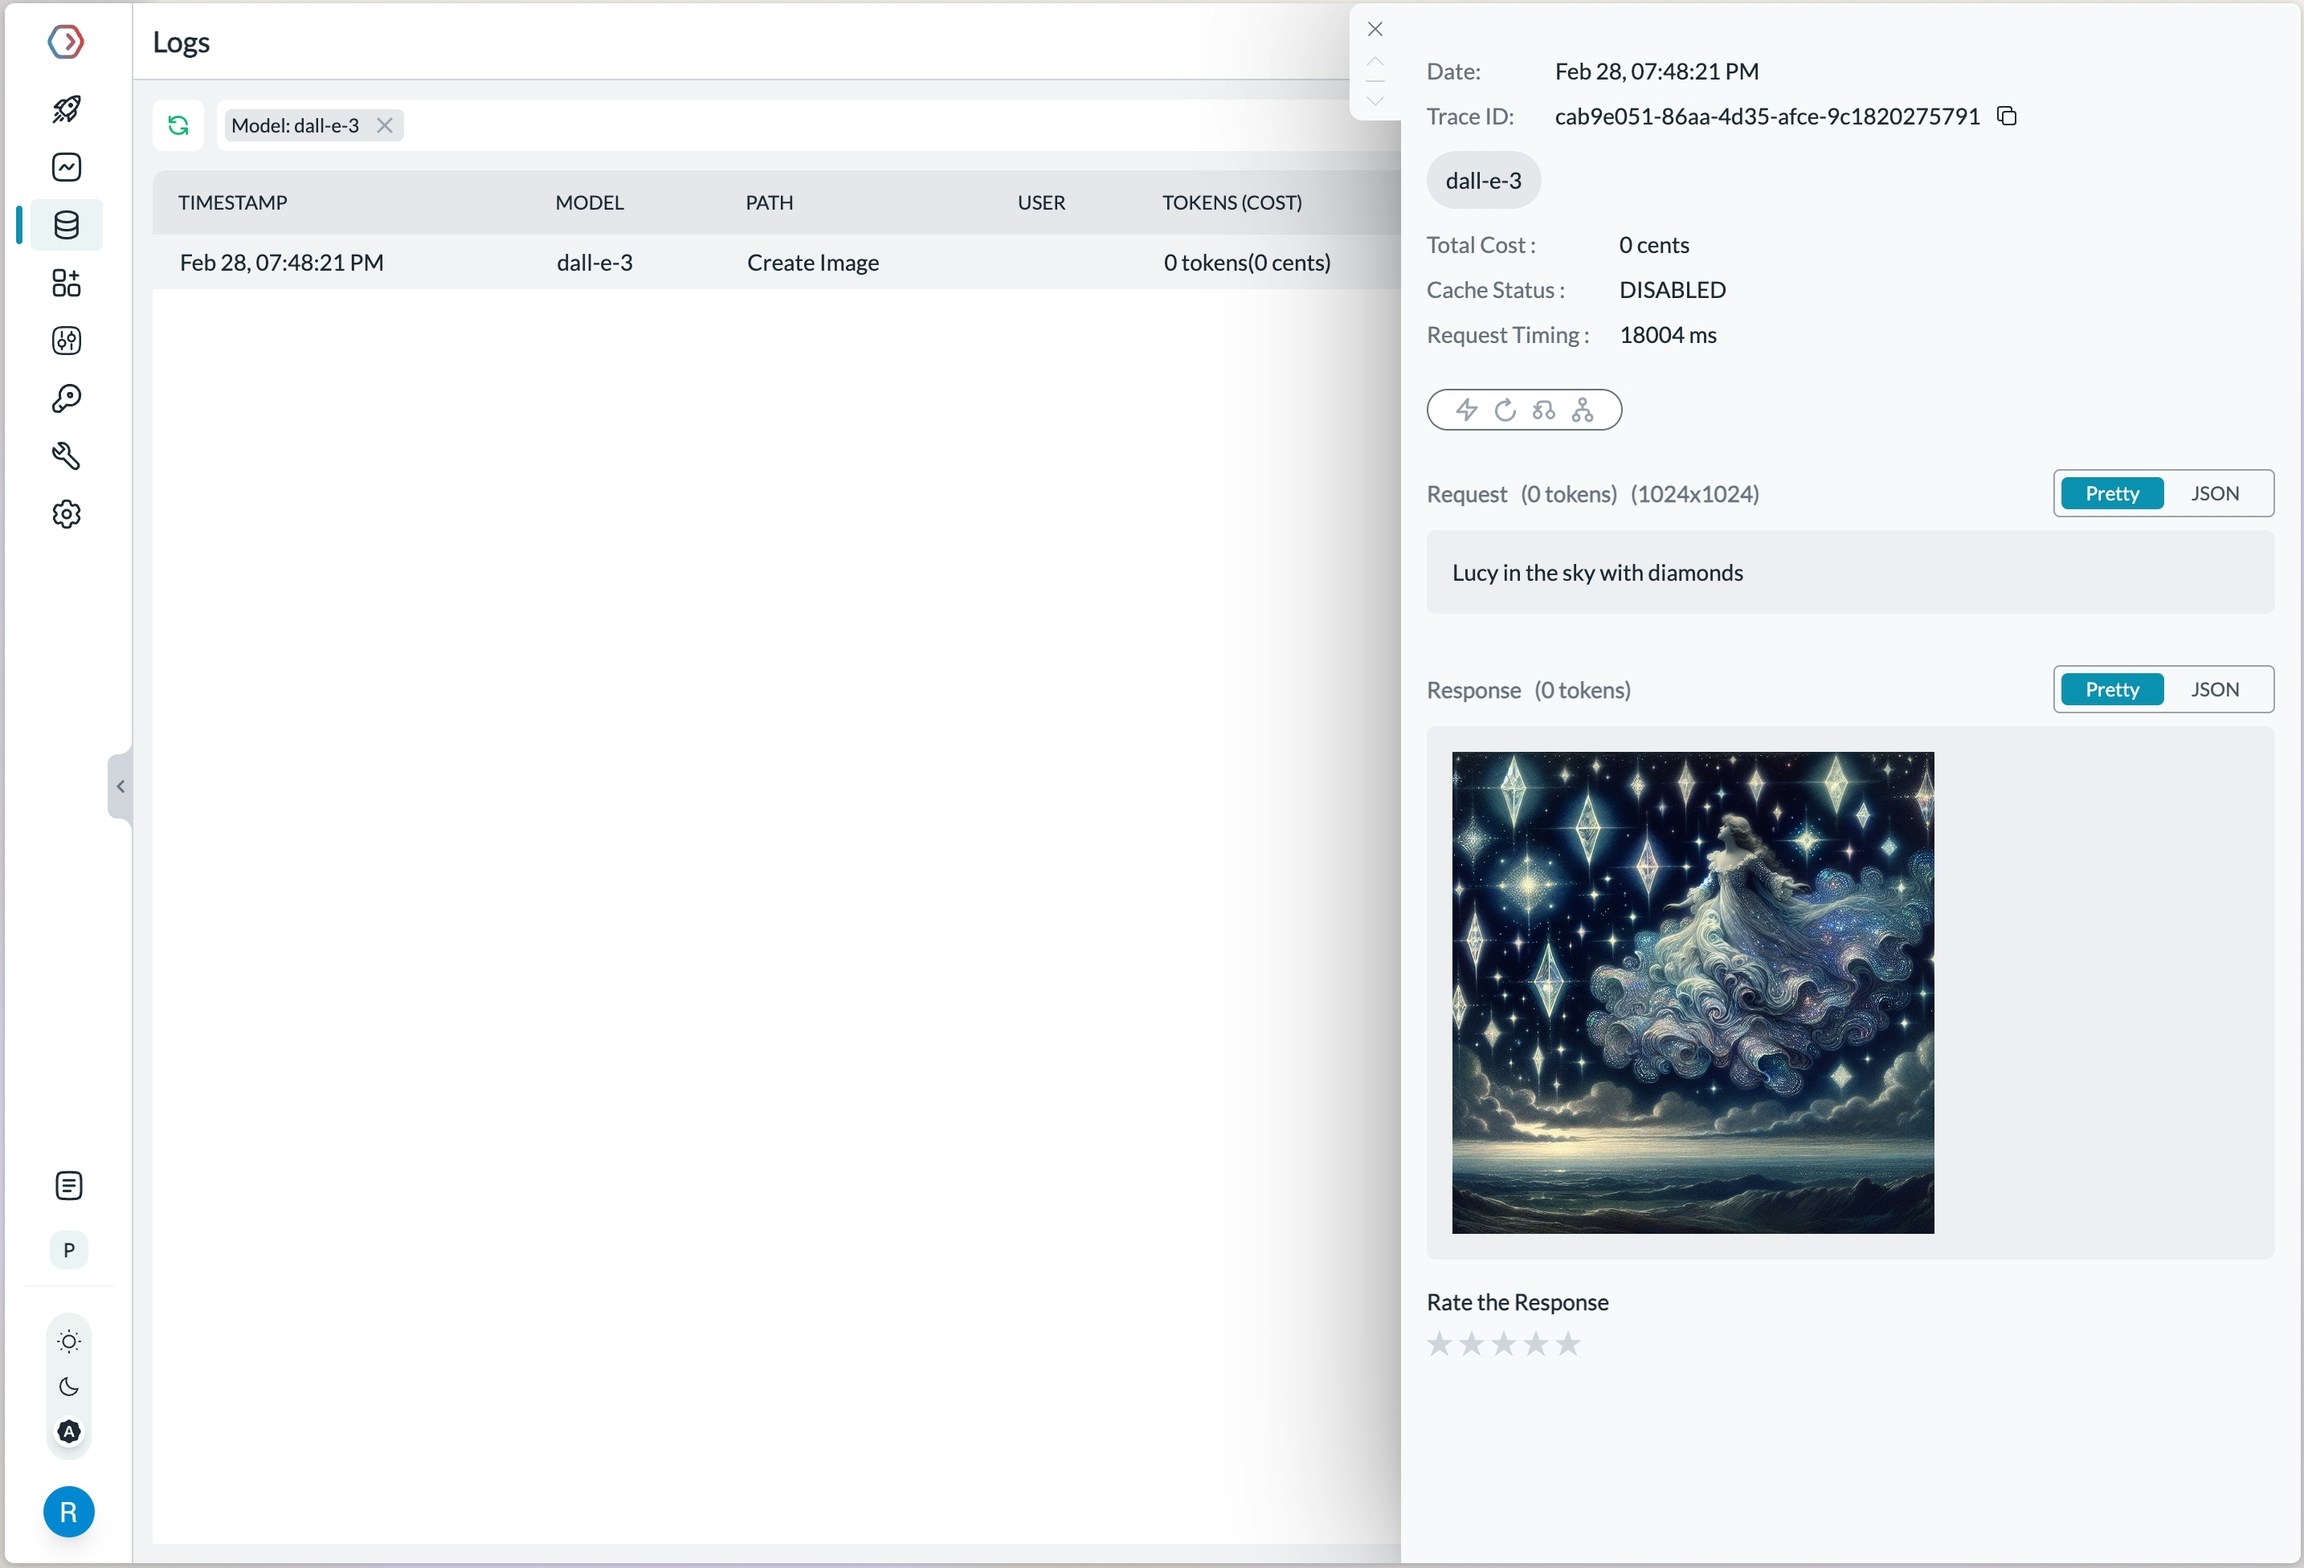
Log view for an image generation request on OpenAI
Video Generation with Sora
Portkey supports OpenAI’s Sora video generation models through the AI Gateway. Generate videos using the Portkey Python SDK:Pricing for video generation requests will be visible on your Portkey dashboard, allowing you to track costs alongside your other API usage.
Audio - Transcription, Translation, and Text-to-Speech
Portkey’s multimodal Gateway also supports theaudio methods on OpenAI API. Check out the below guides for more info:
Check out the below guides for more info:
Integrated Tools with Responses API
Web Search Tool
Web search delivers accurate and clearly-cited answers from the web, using the same tool as search in ChatGPT:Options for
search_context_size:high: Most comprehensive context, higher cost, slower responsemedium: Balanced context, cost, and latency (default)low: Minimal context, lowest cost, fastest response
File Search Tool
File search enables quick retrieval from your knowledge base across multiple file types:This tool requires you to first create a vector store and upload files to it. Supports various file formats including PDFs, DOCXs, TXT, and more. Results include file citations in the response.
Enhanced Reasoning
Control the depth of model reasoning for more comprehensive analysis:Computer Use Assistant
Portkey also supports the Computer Use Assistant (CUA) tool, which helps agents control computers or virtual machines through screenshots and actions. This feature is available for select developers as a research preview on premium tiers.Learn More about Computer use tool here
Managing OpenAI Projects & Organizations in Portkey
When integrating OpenAI with Portkey, specify your OpenAI organization and project IDs along with your API key. This is particularly useful if you belong to multiple organizations or are accessing projects through a legacy user API key. Specifying the organization and project IDs helps you maintain better control over your access rules, usage, and costs. Add your Org & Project details using:- Adding in Model Catalog (Recommended)
- Defining a Gateway Config
- Passing Details in a Request
Using Model Catalog
When adding OpenAI from the Model Catalog, Portkey automatically displays optional fields for the organization ID and project ID alongside the API key field. Get your OpenAI API key from here, then add it to Portkey along with your org/project details.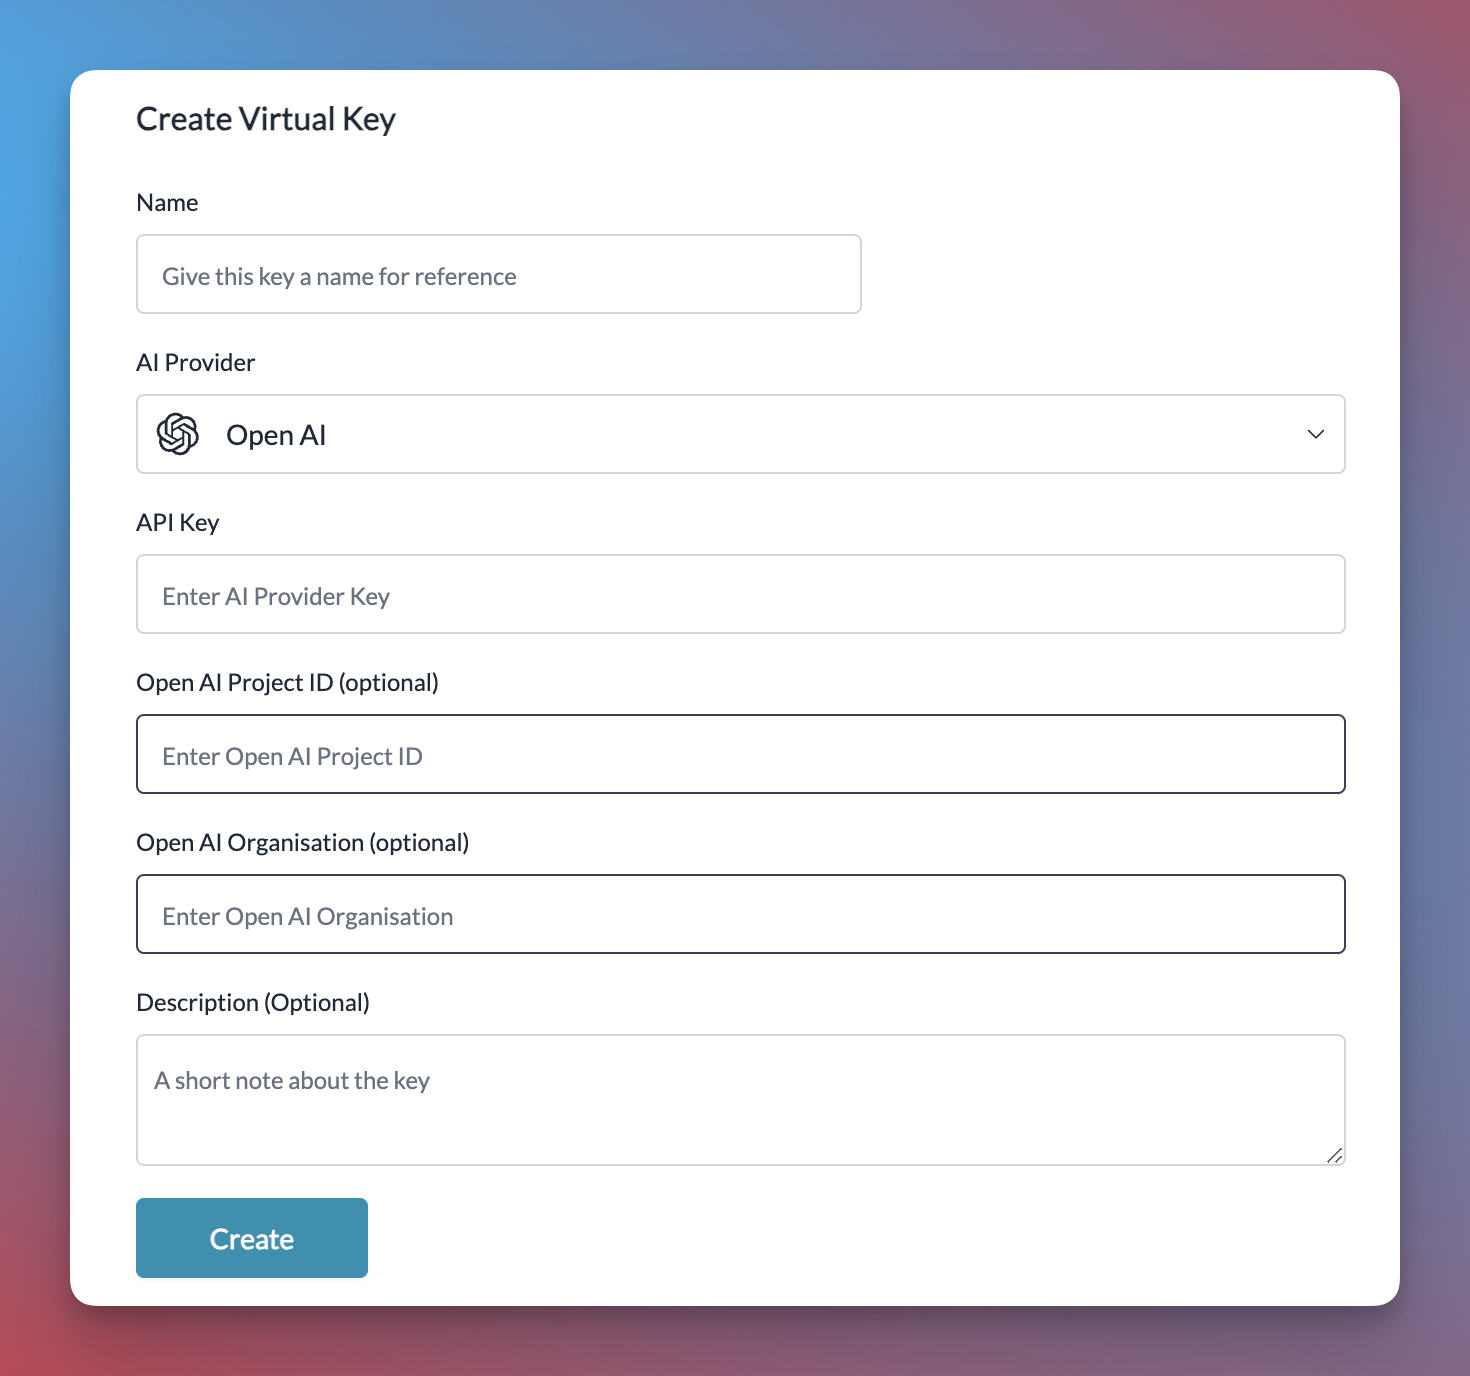
Using the Gateway Config
You can also specify the organization and project details in the gateway config, either at the root level or within a specific target.While Making a Request
You can also pass your organization and project details directly when making a request using curl, the OpenAI SDK, or the Portkey SDK.Frequently Asked Questions
General FAQs
Is it free to use the OpenAI API?
Is it free to use the OpenAI API?
The OpenAI API can be used by signing up to the OpenAI platform. You can find the pricing info here
I am getting rate limited on OpenAI API
I am getting rate limited on OpenAI API
You can find your current rate limits imposed by OpenAI here. For more tips, check out this guide.