
Get a Demo - Build, run, and use AI with confidence.
Using Pillar with Portkey
1. Add Pillar API Key to Portkey
- Navigate to the
Integrationspage underSettings - Click on the edit button for the Pillar integration and add your API key
2. Add Pillar’s Guardrail Check
- Now, navigate to the “Guardrails” page
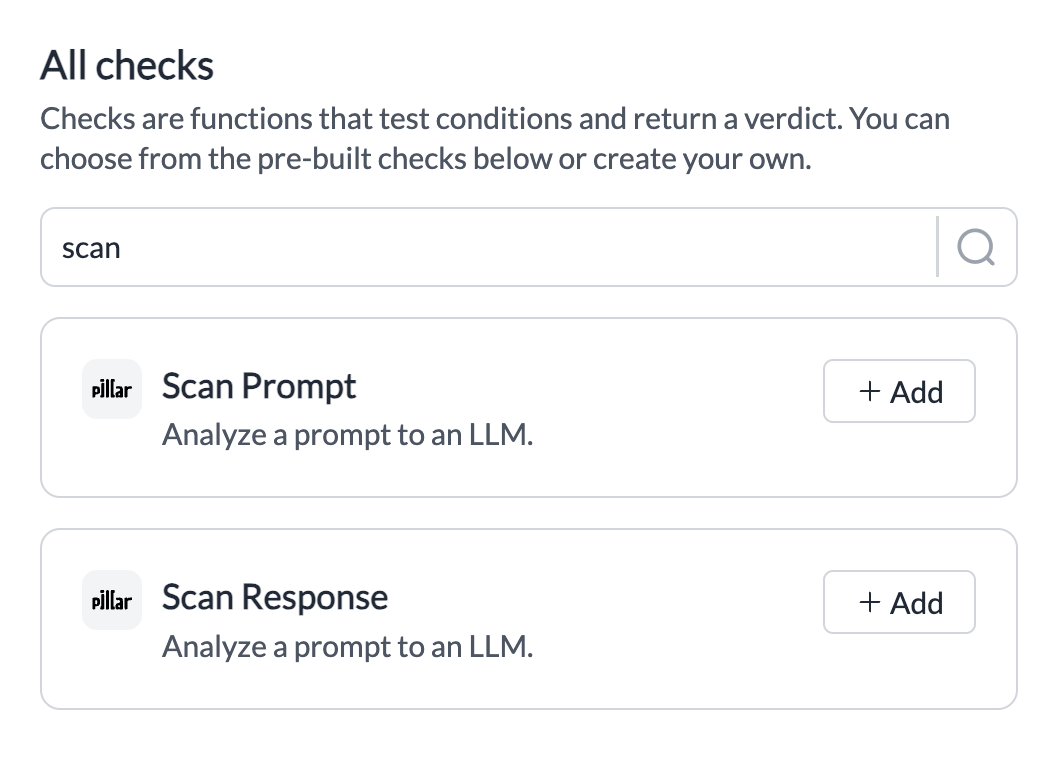
- Search for Pillar’s Guardrail Checks
Scan PromptorScan Responseand click onAdd - Pick the info you’d like scanned and save the check.
- Set any actions you want on your check, and create the Guardrail!
3. Add Guardrail ID to a Config and Make Your Request
- When you save a Guardrail, you’ll get an associated Guardrail ID - add this ID to the
before_request_hooksorafter_request_hooksparams in your Portkey Config - Save this Config and pass it along with any Portkey request you’re making!